Ansible Setup and Configuration

Ansible Setup and Configuration
Introduction
This guide outlines the step-by-step process of setting up an Ansible control node and configuring a worker node for automation. The steps include installing Ansible, setting up SSH key authentication, creating an inventory file, and deploying a simple Nginx web server using an Ansible playbook.
1. Install Ansible on the Control Node
Execute the following commands on the control node to install Ansible:
sudo apt-add-repository ppa:ansible/ansible -y
sudo apt update
sudo apt install ansible -y
ansible --version # Verify installation

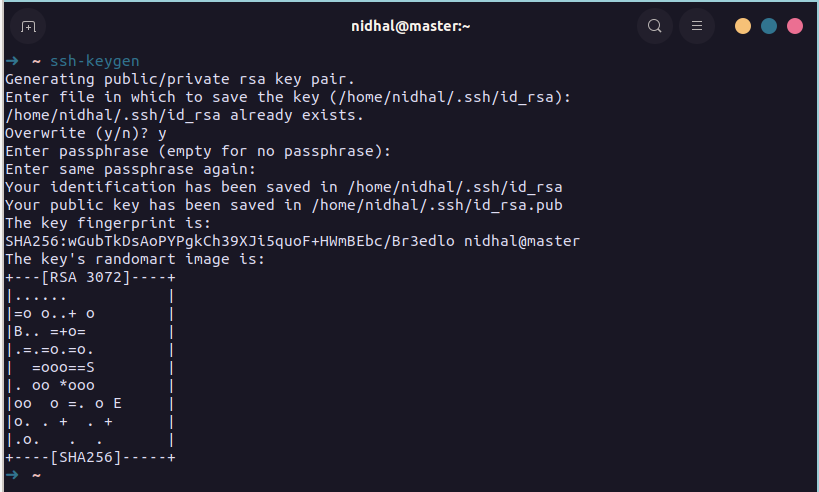
2. Generate SSH Key Pair on Control Node
Create an SSH key pair for secure, password-less authentication:
ssh-keygen # Press Enter to accept defaults, skip passphrase
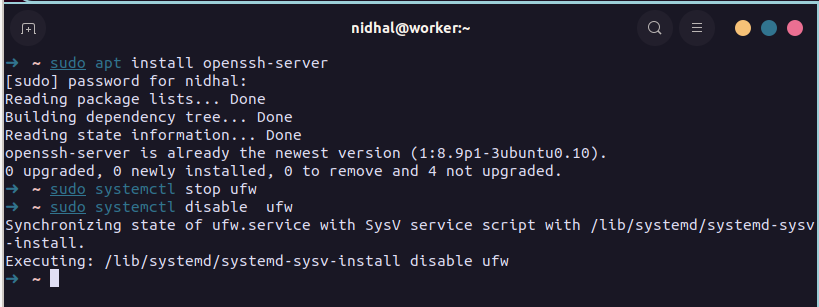
3. Prepare Worker Node
Set up the worker node by installing the SSH server and disabling the firewall:
# Install OpenSSH server
sudo apt update
sudo apt install openssh-server -y

# Disable firewall
sudo systemctl stop ufw
sudo systemctl disable ufw
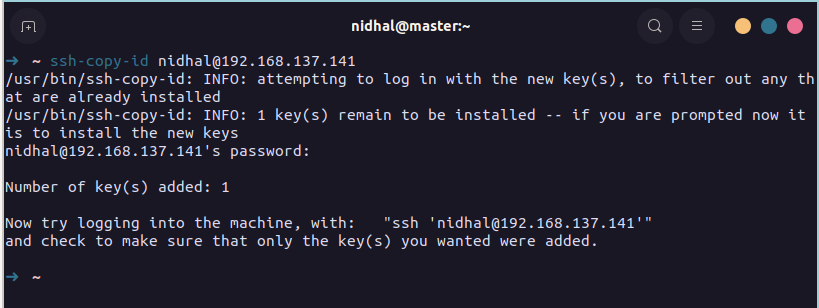
4. Copy SSH Key to Worker Node
Transfer the SSH public key from the control node to the worker node:
ssh-copy-id worker@<WORKER_IP> # Replace <WORKER_IP> with the worker's actual IP
# Enter the worker's password when prompted
5. Disable Password Authentication in the Worker Node
Enhance security by disabling password authentication on the worker node:
sudo nano /etc/ssh/sshd_config
# Change 'PasswordAuthentication' to **no**
sudo systemctl restart ssh
6. Create Inventory File
Create a custom inventory file to specify hosts for Ansible:
sudo nano /etc/ansible/inventory.ini
Add the worker's IP to the inventory file:
[workers]
<WORKER_IP> ansible_user=worker # Replace <WORKER_IP>

7. Create Playbook and Template
Set up the necessary directory structure for templates and create configuration files:
mkdir -p /etc/ansible/templates
Create a Jinja2 template for the Nginx index page:
sudo nano /etc/ansible/templates/index.html.j2
HTML Content for index.html.j2:
<!DOCTYPE html>
<html>
<head>
    <title>Welcome to Nginx!</title>
    <style>
        body {
            width: 35em;
            margin: 0 auto;
            font-family: 'Segoe UI', Tahoma, Geneva, Verdana, sans-serif;
            background-color: #f8f9fa;
            color: #212529;
            line-height: 1.6;
            padding: 20px;
        }
        h1 {
            color: #007bff;
            text-align: center;
        }
        .content {
            background: white;
            padding: 20px;
            border-radius: 8px;
            box-shadow: 0 4px 6px rgba(0, 0, 0, 0.1);
        }
        .server-info {
            color: #6c757d;
            font-size: 0.9em;
        }
    </style>
</head>
<body>
    <div class="content">
        <h1>Welcome to Nginx!</h1>
        <p>If you see this page, the nginx web server is successfully installed and working.</p>

        <p>For online documentation and support please refer to
        <a href="http://nginx.org/">nginx.org</a>.</p>

        <div class="server-info">
            <p>Server: {{ ansible_hostname }}</p>
            <p>Deployed by: Ansible</p>
            <p>Deployment time: {{ ansible_date_time.iso8601 }}</p>
        </div>
    </div>
</body>
</html>
Create the Ansible playbook:
sudo nano /etc/ansible/nginx_setup.yml
Playbook Content:
---
- name: Set up and configure Nginx web server
  hosts: workers
  become: yes
  tasks:
    - name: Update system
      apt:
        update_cache: yes
        upgrade: dist

    - name: Install Nginx
      apt:
        name: nginx
        state: present

    - name: Deploy custom index.html
      template:
        src: templates/index.html.j2
        dest: /var/www/html/index.html
      notify: Restart nginx

    - name: Ensure Nginx is running and enabled
      service:
        name: nginx
        state: started
        enabled: yes

  handlers:
    - name: Restart nginx
      service:
        name: nginx
        state: restarted
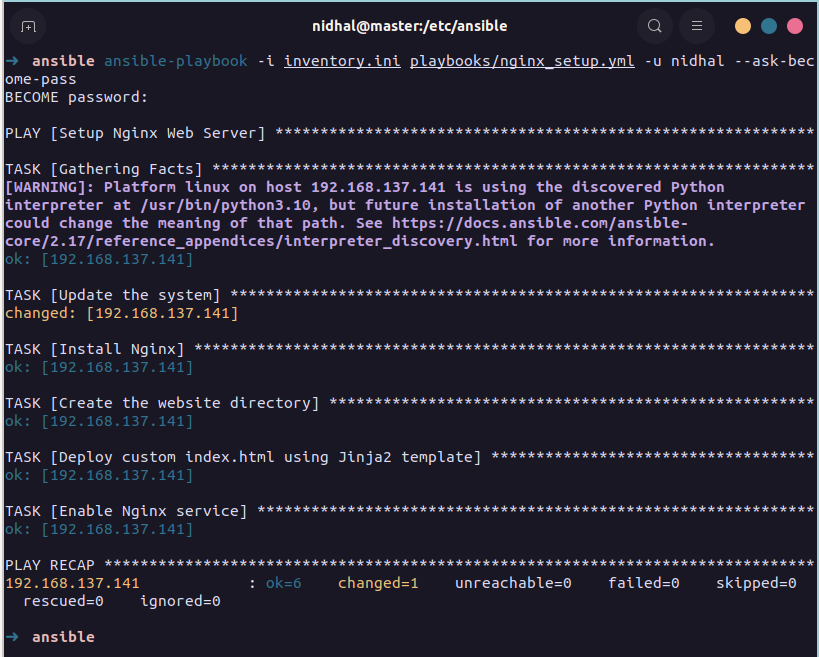
8. Run the Playbook
Execute the Ansible playbook to configure the worker node:
cd /etc/ansible
ansible-playbook -i inventory.ini playbooks/nginx_setup.yml -u worker --ask-become-pass
# Enter the worker's sudo password when prompted
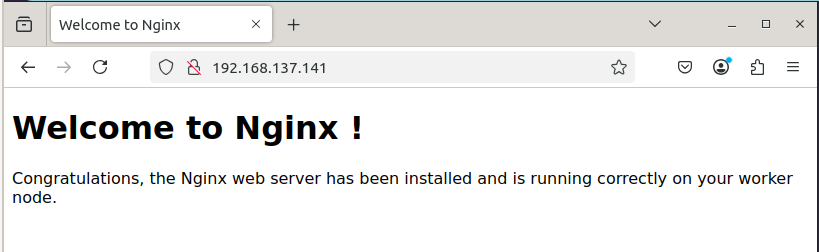
9. Verify Installation
Open a web browser and navigate to http://<WORKER_IP>. You should see the custom "Welcome to Nginx" page.
Conclusion
This guide has walked through the process of setting up Ansible automation for deploying an Nginx web server. The setup establishes secure communication between the control and worker nodes, and demonstrates basic Ansible concepts including playbooks, templates, and handlers.